Short answer yes you should. Here’s why I think it’s superior to standard Public Key authentication.
Last week Amazon launched EC2 Instance Connect, dubbed a “Simple and secure way to connect to your instances using SSH and managed by IAM”. Let’s spend the next few minutes diving in to find out how simple it really is.
What is it and how does it work?
EC2 Instance Connect (EIC) is an AWS variant of SSH Public Key authentication. It allows you to use IAM policies to control the publishing of SSH keys to your Instances. This means that SSH requests can be authorised in situ with ephemeral key pairs. removing the need to manage trusted keys on your machines.
It works by using the new AWS Instance Connect API to push a one-time-use public key to an EC2 instance accessible through its metadata service. From here, it remains available to the instance you specified for 60 seconds. The SSH daemon on the EC2 instance will then look up the public key from the instance metadata to authorise your incoming SSH request for your particular user.
The real power comes from the integration with the AWS Identity and Access Management Service (IAM). Using IAM policies, you can restrict both the instances that users can push public keys to and the operating system user that users are pushing the key for.
This means you can control SSH access to your OS user accounts for EC2 instances at the AWS level. You no longer need to share, manage or rotate SSH keys. You can forget about the automation of adding authorised keys to certain users in specific environments, or whatever mind-boggling SSH access policy you may have.
What’s also great is that EIC API requests are logged to CloudTrail giving you an audit of all public-key push attempts.
Using your existing key pair is also supported, but by using the EC2 Instance Connect CLI, SSH keys are generated for one-time-use; a brand new key pair is generated for every single session. This makes SSH access incredibly secure when combined with the 60-second key availability; you can now forget about guarding your private keys with your life.
How easy is it to setup?
Two words; really easy. You can install the prerequisites in just a few commands. On your instances, run:
$ sudo yum install ec2-instance-connect
or if you are running Ubuntu:
$ sudo apt-get install ec2-instance-connect
This will place some new files in /opt/aws/bin or /usr/share/ec2-instance-connect/ on Amazon Linux and Ubuntu respectively:
eic_curl_authorized_keys
eic_harvest_hostkeys
eic_parse_authorized_keys
eic_run_authorized_keys
It will also add 2 new values to your SSH config to configure the SSH daemon to lookup keys from the Instance Metadata service and the user to run the EIC command as. You can open your config at /etc/ssh/sshd_config and search for these values to verify your installation:
AuthorizedKeysCommand /opt/aws/bin/eic_run_authorized_keys %u %f
AuthorizedKeysCommandUser ec2-instance-connect
On Ubuntu, check /lib/systemd/system/ssh.service.d/ec2-instance-connect.conf. It will look the same as above, but AuthorizedKeysCommand will have a different path
That’s it. That is all the configuration that’s required to set up your EC2 instances. Nice and easy.
Now onto your host machine. Download the EC2 Instance Connect CLI using the aws-cli and then use pip to install it:
$ aws s3api get-object --bucket ec2-instance-connect --key cli/ec2instanceconnectcli-latest.tar.gz ec2instanceconnectcli-latest.tar.gz
$ sudo pip install ec2instanceconnectcli-latest.tar.gz
If your IAM user has AdministratorAccess, you can now use the EIC CLI to securely SSH into any instance. Just run:
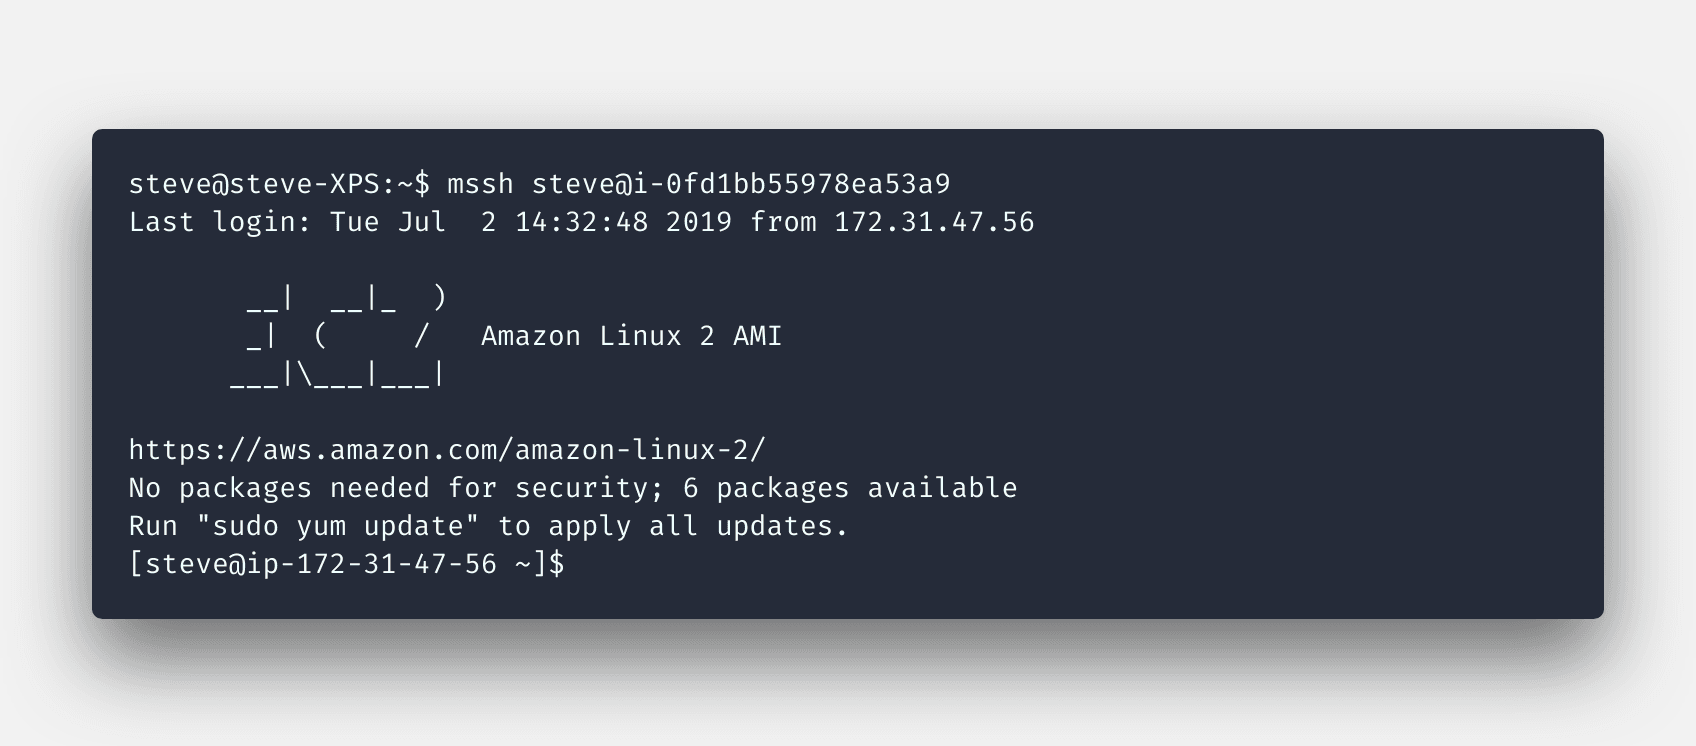
$ mssh ${instance-id}
mssh is the command that’s shipped when you installed the CLI. It is doing all the heavy lifting under the hood; generating the SSH key and sending the public key to the SendSSHPublicKey EIC API endpoint and then SSHing into your instance with the one-time-use private key.
It’s also worth noting that users with AdministratorAccess have permission to push public keys to any instance for any OS user, there’s potential for misuse here. Fortunately, this can be solved by creating an explicit deny policy.
How do I configure IAM policies to control access?
Here’s an example policy you can use:
{
  "Version": "2012-10-17",
  "Statement": [
    {
      "Effect": "Allow",
      "Action": "ec2-instance-connect:SendSSHPublicKey",
      "Resource": "arn:aws:ec2:eu-west-1:123456789012:instance/i-0123456789abcdefg",
      "Condition": {
        "StringEquals": {
          "ec2:osuser": "steve"
        }
      }
    }
  ]
}
Just take that policy above, tweak the region and instance-id. The condition for this policy allows you to authorise as the steve user. If your IAM usernames are identical to your operating system users, you can replace the condition with ${aws:username} which saves the need for a policy per IAM user.
It’s worth noting that tag-based authorization for Instance Connect is not currently supported by EC2 Instance Connect. (Thanks Zach!).
Once you have configured your policies, just use the mssh command:
$ mssh primrose@${instance-id}
If you want to use keys that you have generated already, this is possible and you can find more information about it in the documentation.
Okay, sounds easy enough, but what are the caveats?
So there are a few gotchas you will need to be aware of.
The EIC CLI works by SSHing over the public internet. This does mean that you will need to leave the SSH port open to the world across your infrastructure, or connect to your AWS network using a VPN.
This brings me to my next point. If you have instances in private subnets, you won’t be able to SSH into them directly using the EIC CLI. Instances need to be publicly accessible unless you have a VPN and then the EIC CLI attempts to SSH via the private IP of your instances.
You should be aware that EIC does not manage the users on your operating system; in order to connect as a specific OS user, you will need to ensure that the user exists on your host beforehand. This has the potential to create another administrative burden.
If you have a lot of users to manage, you might want to make use of a central user directory such as Simple Directory Service to ensure they’re available on all of your instances. With a bit of extra work you could use this with IAM federation to provide a single source of truth for users on both IAM and your instances.
Managing a directory of users becomes important when your workload uses a shared file system such as EFS. You’re going to need to ensure that your POSIX UIDs are consistent across your hosts to avoid a world of permissions pain.
So there you have it, a very quick overview of AWS’s latest tool to control access to your EC2 Instances. And I really like it.
The simplicity means there is little friction to implement it; you could get going really quickly. Just bear in mind the caveats that we mentioned above and you’ll be fine.
EC2 Instance Connect not quite cutting the mustard? Keep an eye out for my next post where I review AWS Systems Manager Session Manager, an alternative method to connect to your EC2 instances.